Welcome to Pulse Virtual™
Your preventive benefit identifies risks, improves habits, and gives you long-term control over your health, all from the comfort of your home.
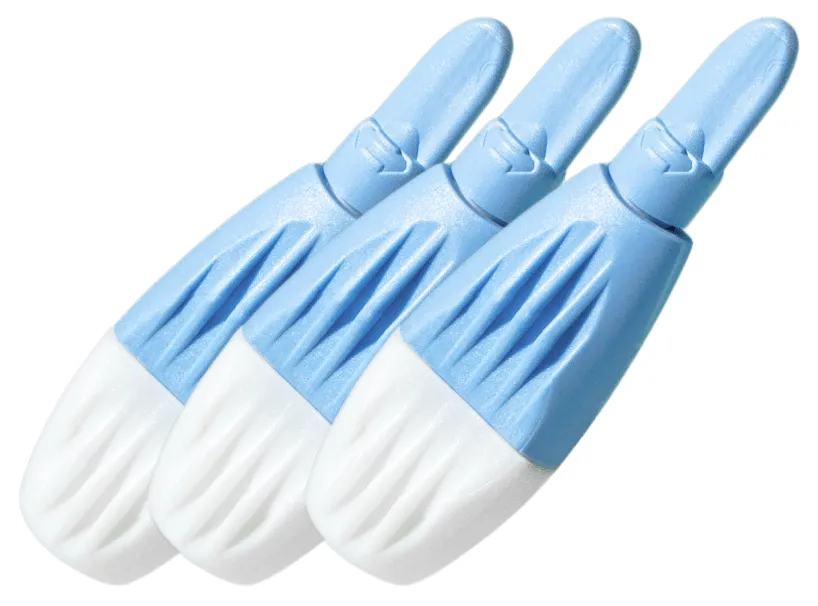
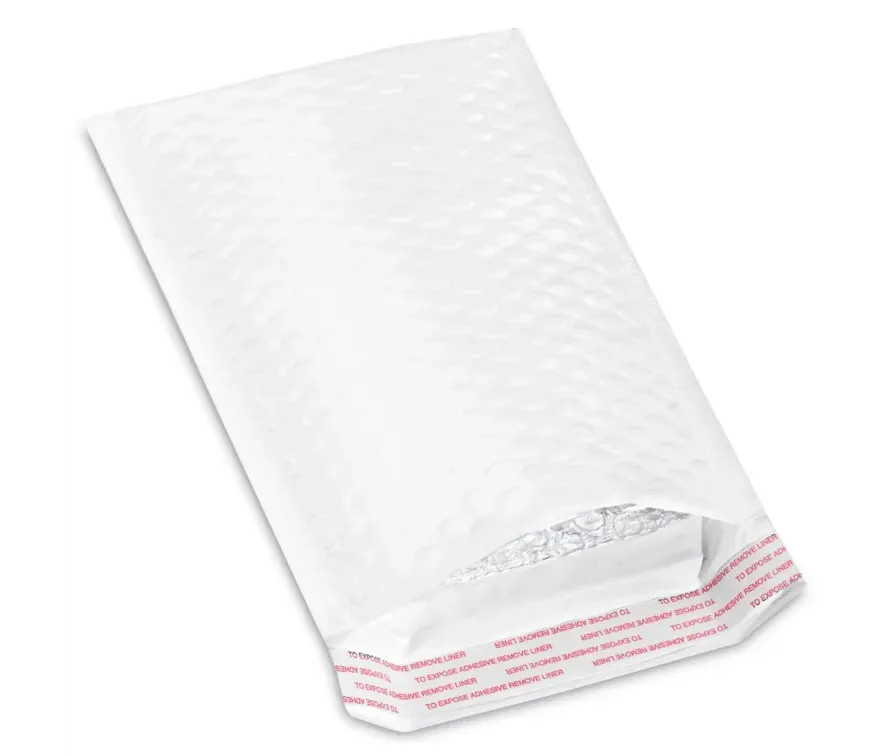
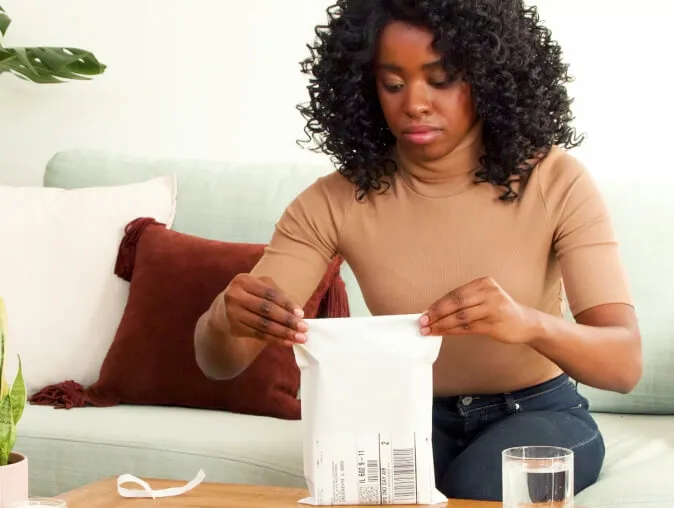
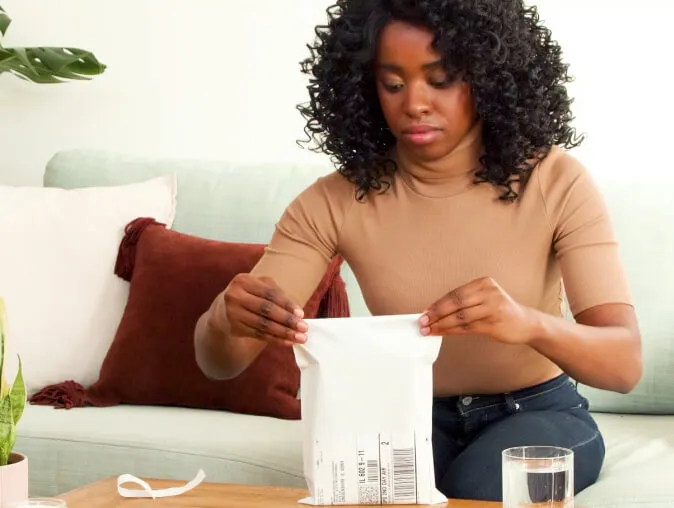
Here's What's in Your Lab Kit
Actual kit components may vary in shape, brand and color. Missing anything? Email memberservices@ehe.health and we’ll get to the bottom of it.


4 Simple Steps to Better Health
We’ll walk you through every step of the sample collection process.
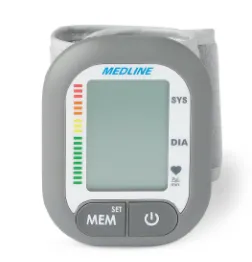
Measuring Blood Pressure >
- Roll up your sleeve to expose the skin. Apply the cuff to your wrist with your palm and the display facing up.
- Fasten the cuff around your wrist, leaving no extra room between the cuff and your skin.
- Sit upright with both feet flat on the floor, elbow on a table and wrist at heart level. Turn your palm upwards and take 5-6 deep breaths.
- Rest for 5 minutes before measuring.
- After 5 minutes, press the power button to begin the reading.
- For a meaningful comparison, try measuring under similar conditions. For example, take daily measurements at approximately the same time, on the same wrist or as directed by a physician
For issues or questions regarding readings, contact Member Services at 800-362-8671 or MemberServices@ehe.health
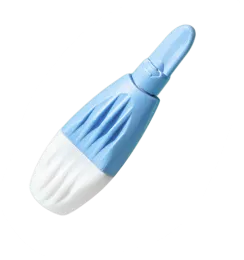
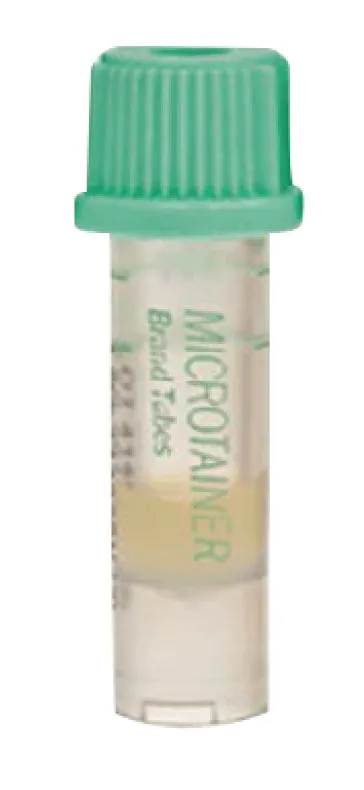
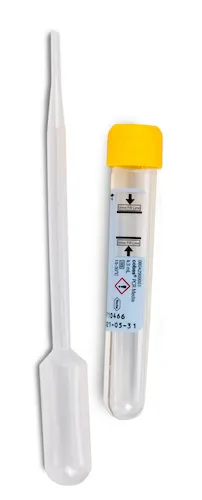
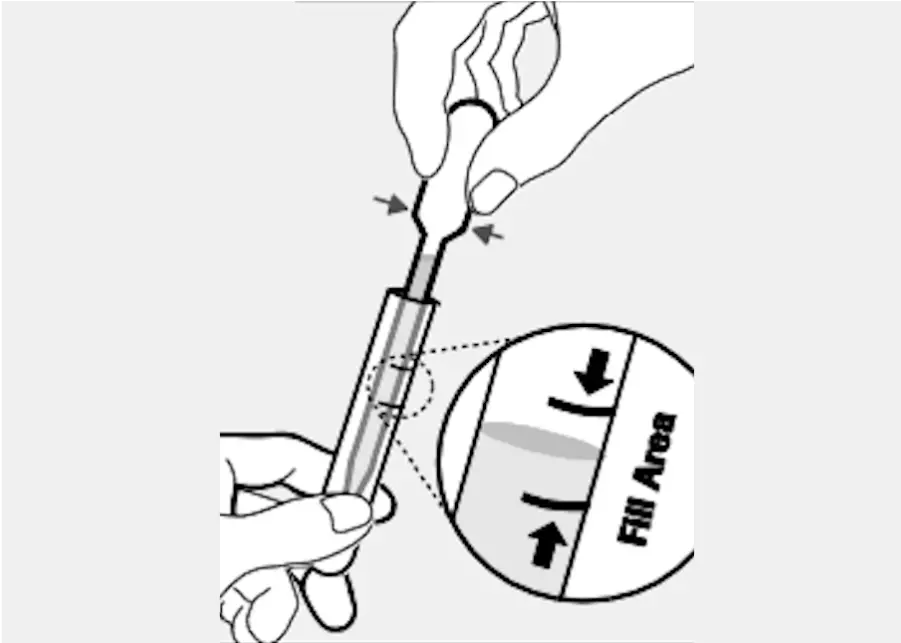
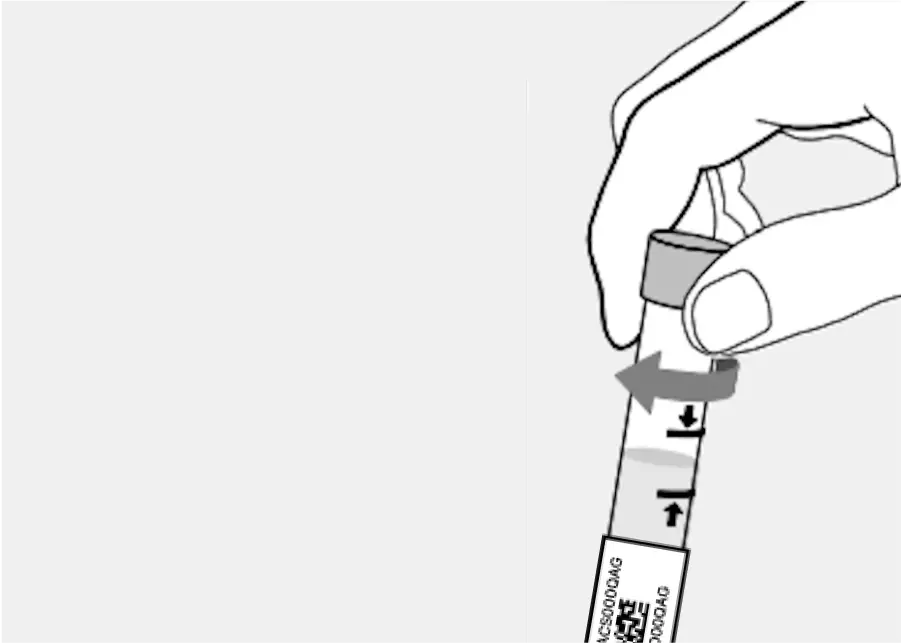
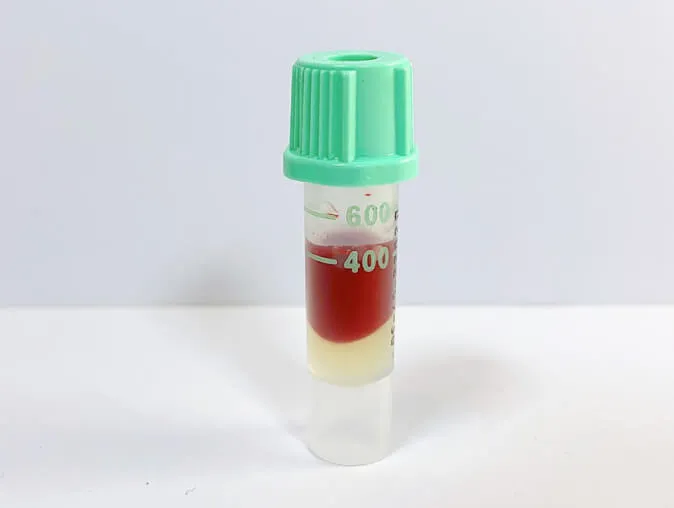
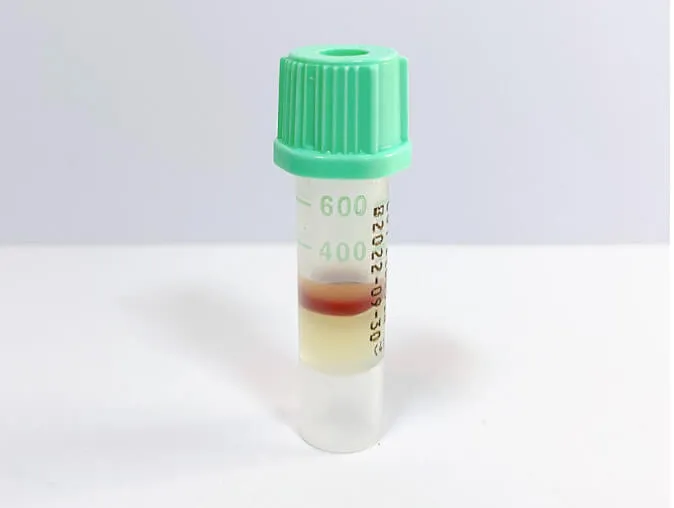
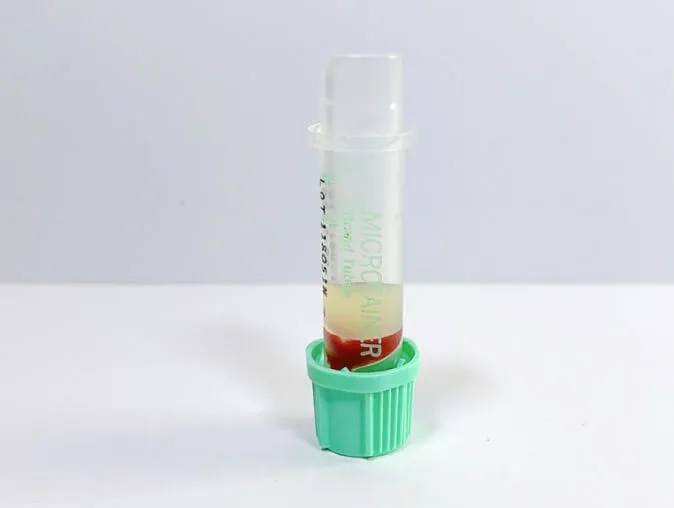
Obtaining Blood Sample >
- Before the test, hydrate with 16 oz. (two full glasses) of water to help with blood flow.
- Heat your hands to get the blood flowing to your entire hand and fingers. You can do this by warming your hands under warm water for one minute.
- Move your body to get your blood flowing even more. We recommend two minutes of exercise—jumping jacks, squats, high knees, or whatever you’re most comfortable with. If you have a smart watch or heart monitor, we recommend getting your heart rate above100 beats per minute.
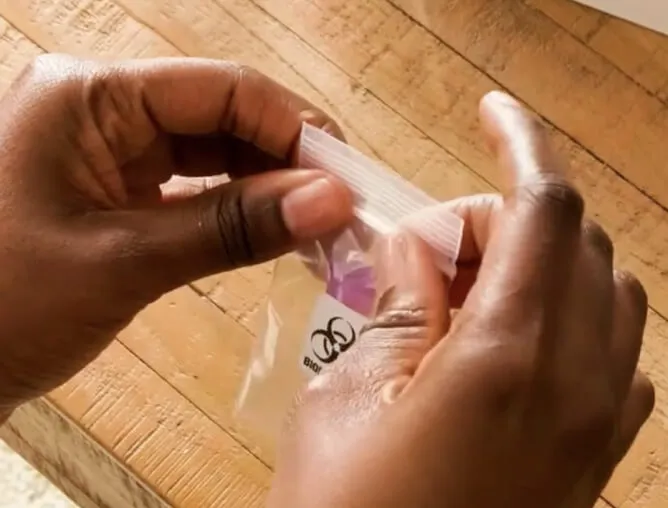
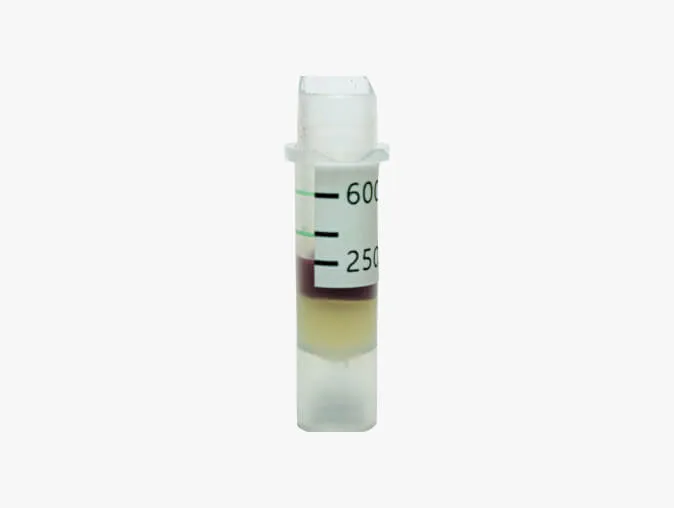
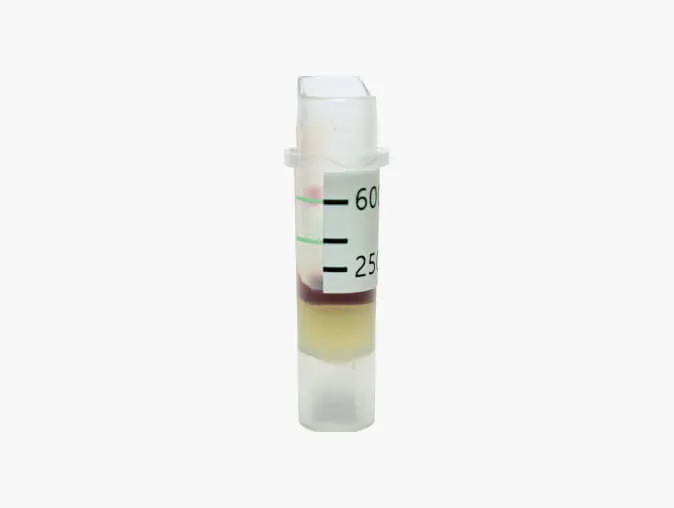
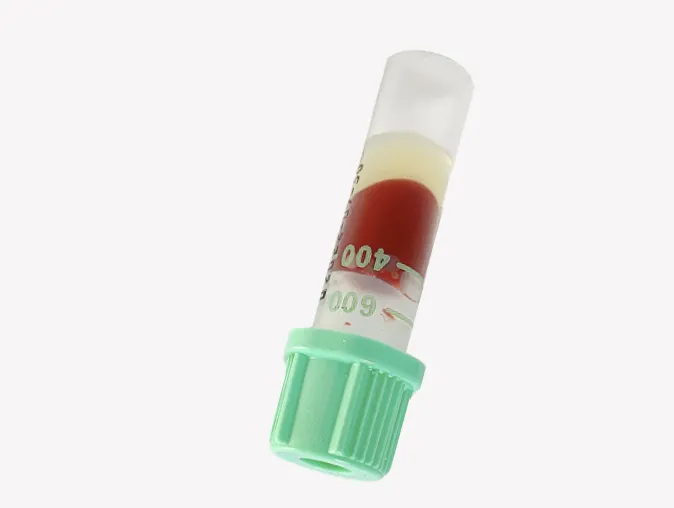
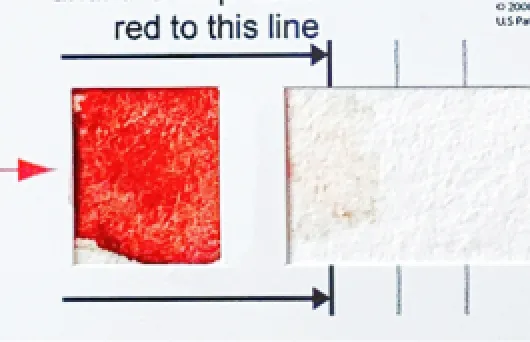
- Time to prepare to prick your finger. We recommend using your ring finger as it is usually the least calloused. Wipe your finger with the provided alcohol swab. Remove the collection device and place it face up on the table, ensuring you don’t touch the collection material.
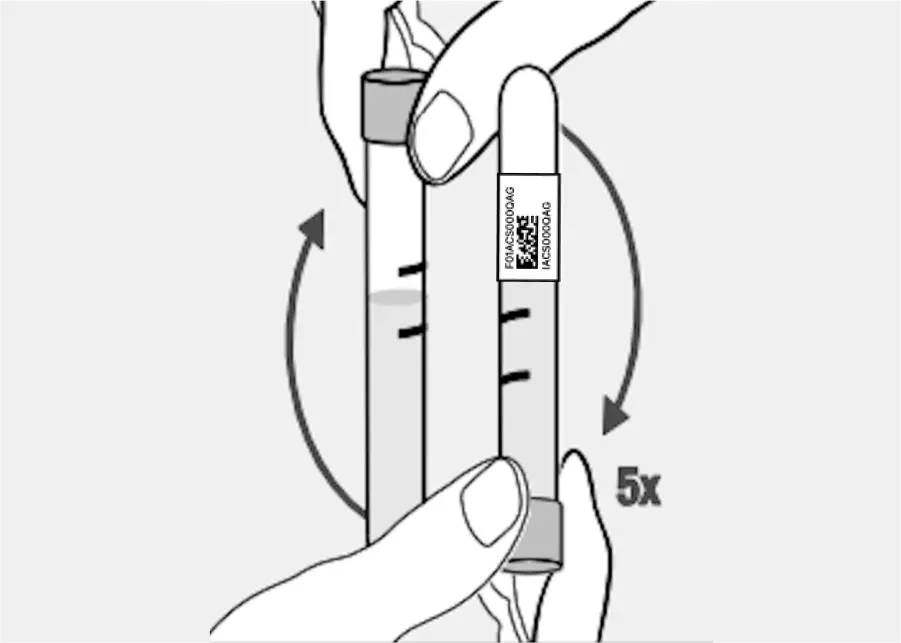
- Twist and remove the cap on your lancet.
- Apply the lancet on either side of your finger, pressing it into the skin until you hear a click.
- Massage (don’t squeeze) to increase blood flow.
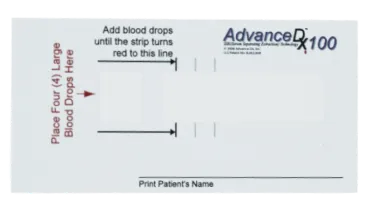
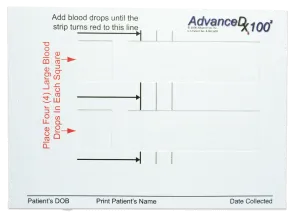
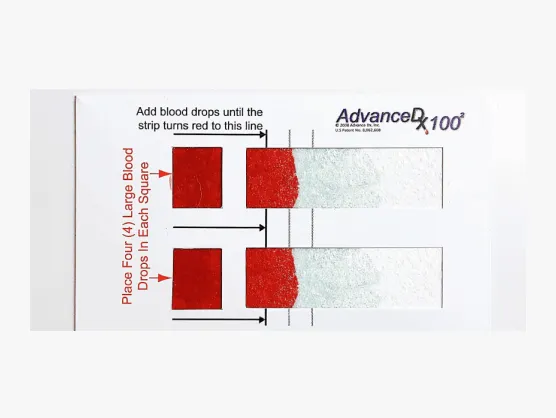
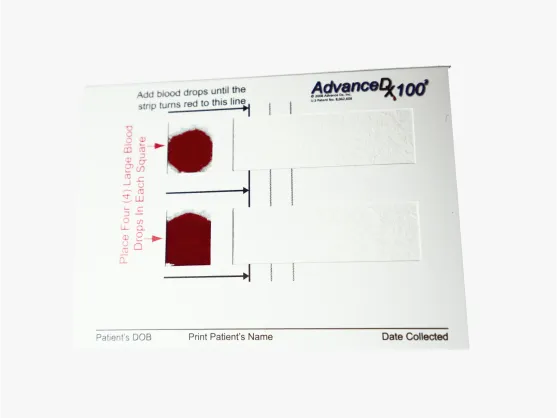
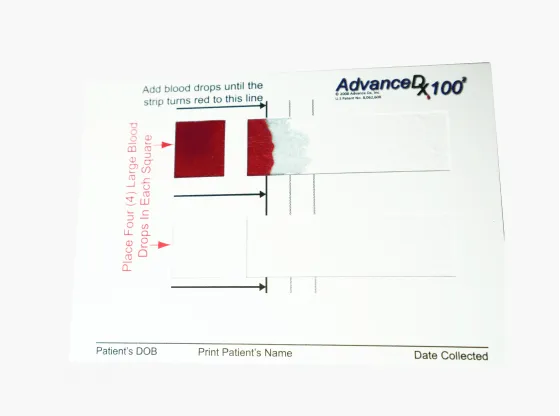
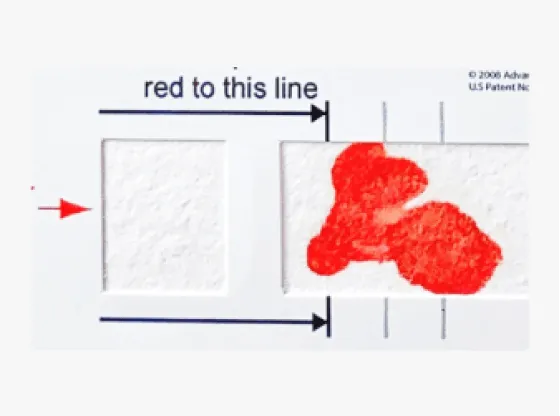
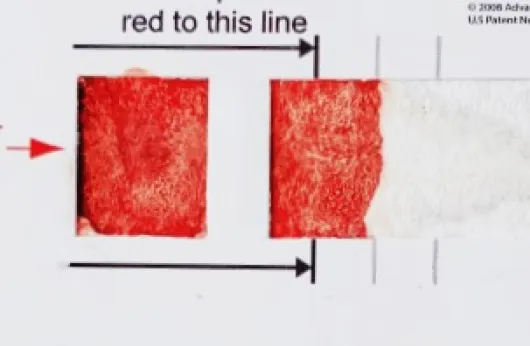
- Drop your blood onto the square indicated on the collection device. Fill the collection device to the first line indicated on the strip.
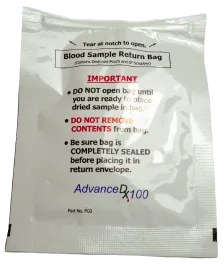
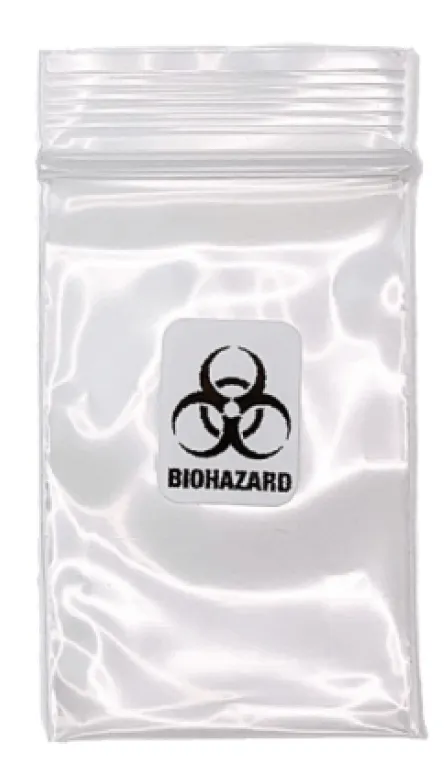
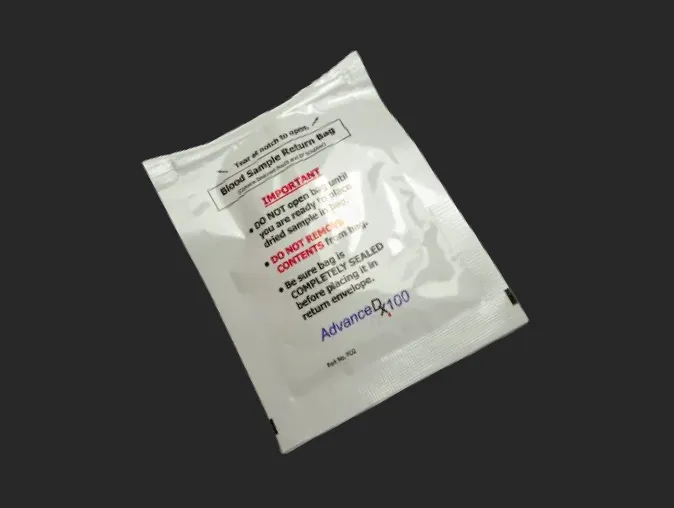
- Allow your sample to air dry for two hours on a flat surface before placing in the foil envelope.
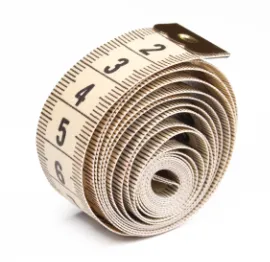
Measuring Waist Circumference >
You’ll need to measure your waist circumference for a questionnaire later in the process. Follow the CDC’s guidelines for an accurate waist measurement:
- Stand and place a tape measure around your midsection, just above your hipbones.
- Make sure tape is flat and horizontal around the waist.
- Keep the tape snug around the waist, but not so much that it’s compressing the skin.
- Measure your waist just after you breathe out and take note of the measurement number.
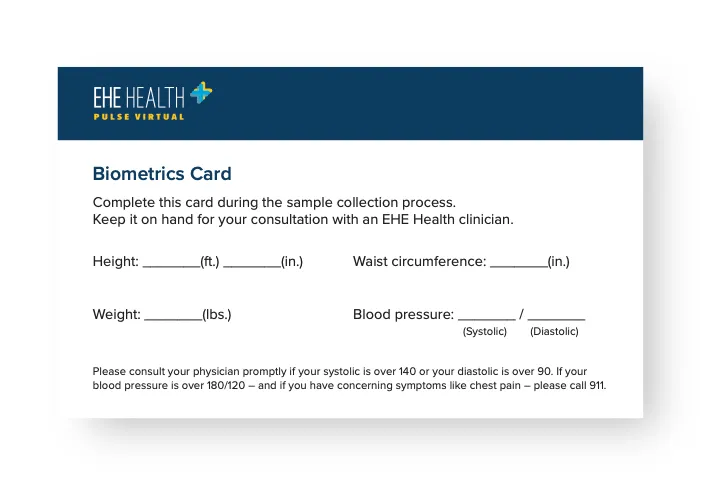
Record Biometrics >
Fill out the Biometrics Card included in your lab kit. Do not ship this card, you will use it during your consult with a clinician.
Shipping Your Samples
Your kit contains a prepaid shipping label and courier instructions. Drop off your completed home test at the nearest USPS location on the same day you take your test. (You can view USPS drop-off locations and hours here.)
In 2-3 business days, the lab will receive your sample. Then, we’ll email you when your results are available and ready to review with an EHE Health clinician.
%20(1).svg)
.webp)


.webp)

.webp)


.webp)

.webp)